Published 2021-05-15
Rekognition Lambda Function with Swift Part 4 - SwiftUI
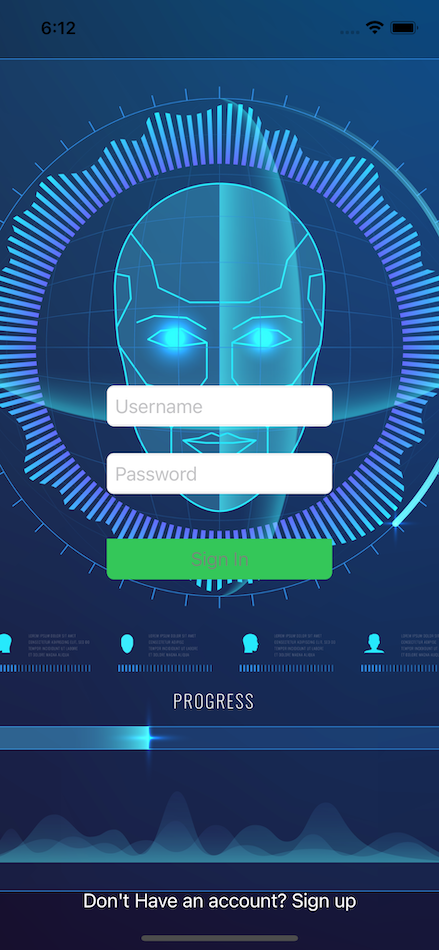
In the last blog post, part4 we introduced the Amazon Cognito service to the project. In this blog post I will show how to register and log in to the Cognito service with SwiftUI.
The full source of the SwiftUI project is here.
Soto Cognito Authentication Kit
To be able to login to the Amazon Cognito service, we use the Soto Project Authentication Kit. We have added the Cognito Authenticate Kit to the Swift Package Manager as a package dependency.
LoginHandler
The LoginHandler is a ObservableObject that takes care of logging in to the Cognito service. The SwiftUI Views are observing this object for changes, and are showing any errors that comes up by popping up a custom sheet from the bottom of the screen.
We first import the Soto Cognity Authentication Kit and Identity and Identity Provider. The KeychainSwift have also been added as a dependency with Swift Package Manager, and we import it here as well. KeychainSwift is an excellent service that makes using the keychain using Swift super easy. We use KeyChain to store the tokens received from Cognito when we log in.
import Foundation
import SotoCognitoAuthenticationKit
import SotoCognitoIdentityProvider
import SotoCognitoIdentity
import Combine
import KeychainSwift
The LoginHandler class have awsClient as a property. AWSClient takes care of all communication with AWS. The cognitoIdentityProvider property is initialized with awsClient. We have also a class named CognitoConfiguration that pulls data from a plist CognitoConfig.plist. The plist contains information like poolId, clientId etch which is populated by a build script which uses aws cli to get the information from your aws account.
class LoginHandler: ObservableObject {
    struct Constants {
        static var AccessToken = "AccessToken"
        static var RefreshToken = "RefreshToken"
        static var User = "user"
    }

    lazy var awsClient = AWSClient(credentialProvider: .empty, httpClientProvider: .createNew)
    lazy var cognitoIdentityProvider = CognitoIdentityProvider(client: awsClient, region: .euwest1)
    lazy var configuration: CognitoConfiguration = {
        let poolId = cognitoConfig.getPoolId()
        let clientSecret = cognitoConfig.getClientSecret()
        let clientId = cognitoConfig.getClientId()
        let region: Region = cognitoConfig.getRegion()
        let cognitoIdentityProvider = CognitoIdentityProvider(client: awsClient, region: region)

       return CognitoConfiguration(userPoolId: poolId, clientId: clientId, clientSecret: clientSecret, cognitoIDP: cognitoIdentityProvider)
    }()
    lazy var authenticatable = CognitoAuthenticatable(configuration: configuration)
    lazy var cognitoConfig = CognitoConfig()
The rest of the properties are these. There are flags that the SwiftUI views uses to switch between views, and present errors or challenge sheets whenever they changes to true:
@Published var challenged = false
@Published var authenticated = false
@Published var confirmSignup = false
@Published var error = false
@Published var errorText = "" {
    didSet {
        error = true
    }
}
var challenge: CognitoAuthenticateResponse.ChallengedResponse?
var username: String?
let keychain = KeychainSwift()
The handleLogin function is used in the LoginView, and uses the Soto authenticate function when the user taps the Sign In button:
func handleLogin(username: String, password: String) {
    let data = AWSCognitoContext()
    let response = self.authenticatable.authenticate(
        username: username,
        password: password,
        requireAuthenticatedClient: false,
        clientMetadata: nil,
        context: data,
        on: authenticatable.configuration.cognitoIDP.eventLoopGroup.next()
    )
    self.username = username

    response.whenComplete { result in
        self.handleAuthentication(with: result)
    }
}
When the result from the handleLogin function arrives, it is handled by the handleAuthenticate functions. Depending on the result, it is setting the error property if the result is an error, resulting in an error sheet that pops up from the bottom of the screen, or setting the authenticated or challenged properties if the result is a success.
If you logs in the first time after registering a new user, you will be challenged, and that requires you to create a new password instead of the one-time password you used to log in. Setting the challenged property results in a challenged sheet to pop up from the bottom of the screen, so that you can send in the new password for the user.
func handleAuthentication(with result: Result<CognitoAuthenticateResponse, Error>) {
    DispatchQueue.main.async {
        switch result {
        case .failure(let error):
            DispatchQueue.main.async {
                self.errorText = "\(error)"
            }
        case .success(let response):
            switch response {
            case .authenticated(let authenticatedResponse):
                self.authenticated = true
                self.handleAuthentication(with: authenticatedResponse)
            case .challenged(let challengedResponse):
                self.challenged = true
                self.challenge = challengedResponse
            }
        }
    }
}

func handleAuthentication(with response: CognitoAuthenticateResponse.AuthenticatedResponse) {
    if let accessToken = response.accessToken {
        keychain.set(accessToken, forKey: Constants.AccessToken)
    }
    if let refreshToken = response.refreshToken {
        keychain.set(refreshToken, forKey: Constants.RefreshToken)
    }
}
handleChallenge function sends the new password to AWS, and when the result comes back, it is again handled by the handleAuthentication function.
func handleChallenge(with newPassword: String) {
    self.challenged = false
    guard let challenge = self.challenge, let session = challenge.session, let username = self.username else { return }
    let data = AWSCognitoContext()
    if challenge.name == CognitoChallengeName.newPasswordRequired.rawValue {
        let challengeName: CognitoChallengeName = .newPasswordRequired
        let challengeResponse = ["NEW_PASSWORD": newPassword]

        let newPasswordResponse = self.authenticatable.respondToChallenge(
            username: username,
            name: challengeName,
            responses: challengeResponse,
            session: session,
            requireAuthenticatedClient: false,
            context: data,
            on: self.authenticatable.configuration.cognitoIDP.eventLoopGroup.next()
        )

        newPasswordResponse.whenComplete { result in
            self.handleAuthentication(with: result)
        }

    }
}
If the user chooses to register a new user, it is handled by the registerUser function. After the user has been challenged to make a new password, the confirmSignup function sends in the confirmation code back to AWS that was sent by email to the user.
func registerUser(username: String, email: String, password: String) {
    let attributes: [String: String] = ["email": email]
    let response = authenticatable.signUp(username: username, password: password, attributes: attributes)

    response.whenComplete { result in
        switch result {
        case .failure(let error):
            DispatchQueue.main.async {
                self.errorText = "\(error)"
            }
        case .success(_):
            DispatchQueue.main.async {
                self.confirmSignup = true
            }
        }
    }
}

func confirmSignup(with username: String, and verificationCode: String) {
    let response = authenticatable.confirmSignUp(username: username, confirmationCode: verificationCode)
    DispatchQueue.main.async {
        self.confirmSignup = false
    }

    response.whenComplete { result in
        switch result {
        case .failure(let error):
            DispatchQueue.main.async {
                self.errorText = "\(error)"
            }
        case .success():
            break
        }
    }
}
Whenever the user opens the app, or the app comes to the foreground from another app, the checkToken function checks if the accessToken is still valid and haven't expired. If it has expired, we will try to use the refreshToken to make a new accessToken. The accessToken is usually set to 60 minutes, and the refreshToken to 30 days, but that can be changed in the Cognito console.
func checkToken() {
    guard let token = keychain.get(Constants.AccessToken) else { return }

    let response = authenticatable.authenticate(accessToken: token, on: authenticatable.configuration.cognitoIDP.eventLoopGroup.next())

    response.whenComplete { result in
        switch result {
        case .failure(_):
            self.refreshToken()
        case .success(_):
            DispatchQueue.main.async {
                self.authenticated = true
            }
        }
    }
}

func refreshToken() {
    guard let refreshToken = keychain.get(Constants.RefreshToken), let username = self.username else { return }
    let response = authenticatable.refresh(username: username, refreshToken: refreshToken, requireAuthenticatedClient: false)

    response.whenComplete { result in
        switch result {
        case .failure(let error):
            DispatchQueue.main.async {
                self.errorText = "\(error)"
                self.authenticated = false
            }
        case .success(let response):
            switch response {
            case .authenticated(let authenticatedResponse):
                DispatchQueue.main.async {
                    self.authenticated = true
                }
                self.handleAuthentication(with: authenticatedResponse)
            case .challenged(let challengedResponse):
                self.challenged = true
                self.challenge = challengedResponse
            }
        }
    }
}
Conclusion
The RekClient app can now be used to login to the Cognito service, which is used by the project I have described in the last 4 blog posts Rekognition Lambda Function. At this point it doesn't do anything else, but that will change in the next blog posts I will do in this series. The app is a multiplatform app that can theoretically also run on macOS, although I haven't at this point followed that route, but hopefully I will come back and build out that as well.